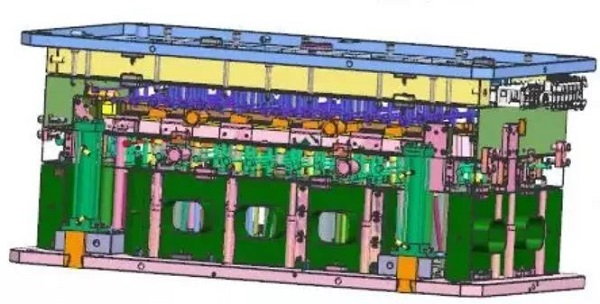
Usually, the mold design task book is proposed by the parts technician according to the task book of the molded parts. The mold is often manufactured and produced through the processes of collecting, analyzing, digesting original data, drawing mold drawings and assembly drawings, proofreading, reviewing drawings, tracing, sending for drying, making all parts drawings, trial molding and repairing molds, and sorting out data for archiving.
In order to ensure the rationality and consistency of mold manufacturing process, optimize the processing technology, and improve the progress of mold manufacturing, each mold factory generally formulates process standards suitable for the factory. This article provides a reference standard, starting from the automobile manufacturing industry, and lists some of the more important processes of automobile parts molds.
1.The technician compiles the process card
When the technician compiles the process card, it must specify the processing reserve, the position of the reserve, the roughness requirements and precautions in detail in the process card.
Principles for writing the processing process card: Under the premise of ensuring accuracy and quality, give priority to using equipment with high processing efficiency. The processing efficiency of milling machines, CNC, and grinders is faster than that of wire cutting and electric pulse, especially electric pulse processing, which has the slowest efficiency. The dimensions on the drawings cannot be changed at will.
Note: All templates have been finely processed and shipped back to the factory for processing.
After the mold base is returned to the factory, the fitter requires:
1. Whether the reference surfaces of A and B plates are flush and whether the reference angles are right angles;
2. Whether the guide pins and guide sleeves open and close smoothly;
3. Whether the mold frame screws and thread holes are standard;
4. Whether the lower guide pins and return pins are smooth;
5.Whether the template is deformed or black.
2.Principle of processing reserve
1. For workpieces that require heat treatment, add a 0.25mm grinding allowance on one side of the size of the material before heat treatment;
2. For mold cores and inserts that require CNC rough processing, reserve a 0.2mm allowance on one side;
3. For rough milling of the shape on a bench milling machine, reserve a 0.3-0.5mm allowance on one side. For workpieces that require grinding after wire cutting, reserve 0.05mm on one side of the forming part, and reserve 0.1mm grinding allowance on one side of the rough opening of the shape;
4. After CNC finishing and electric pulse, mirror polishing is required, and a polishing allowance of 0.03mm is reserved on one side.
3.Processing accuracy requirements
The manufacturing accuracy of the mold size should be within the range of 0.005-0.02mm; the verticality requirement should be within the range of 0.01-0.02mm; the coaxiality requirement should be within the range of 0.01-0.03mm; the parallelism of the upper and lower planes of the movable and fixed mold parting surfaces should be within the range of 0.01-0.03mm.
After the mold is closed, the gap between the parting surfaces is less than the overflow value of the molded plastic. The parallelism of the remaining template matching surfaces is required to be within the range of 0.01-0.02mm; the matching accuracy of the fixed part is generally selected within the range of 0.01-0.02mm; if the small core has no plug-in requirement or has little effect on the size, a clearance fit of 0.01-0.02mm on both sides can be used; the matching accuracy of the sliding part is generally selected from H7/e6, H7/f7, and H7/g6.
Note: If there is an insert with a hanging step on the mirror surface, the fit should not be too tight, otherwise when the insert is struck from the front, the tool used for striking will easily damage the mirror surface. If it does not affect the product size, a bilateral clearance of 0.01 to 0.02 mm can be used.
4.Principles of CNC electrode removal
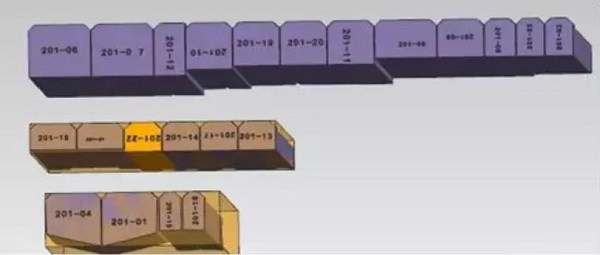
The mold cavity core should first remove the main electrode of the appearance, then remove other main electrodes, and finally remove the local electrode; the fixed mold appearance electrode should be considered for overall processing, and wire cutting should be used to clean the corners where CNC cannot clean the corners, so that the fixed mold appearance surface is complete and there is no joint mark; the reinforcing ribs, ribs, and columns of the movable mold with similar depth can be processed together as much as possible on one electrode; the deeper ribs should be made into inserts, and the electrode side should be punched separately to prevent carbon deposition during electric pulses; the movable mold electrode should not be wire-cut after CNC milling as much as possible. If necessary, the electrode should be disassembled or directly cut by wire; the spacing between the ribs and rib positions or columns of the movable mold exceeds 35mm, and should be made separately to save copper materials.
The rough machining spark position for large electrodes is 0.3mm on one side, and the fine machining spark position is 0.15mm on one side; the rough machining spark position for general electrodes is 0.2mm on one side, and the fine machining spark position is 0.1mm on one side; the rough machining spark position for small electrodes is 0.15mm on one side, and the fine machining spark position is 0.07mm on one side.
5. CNC processing principles
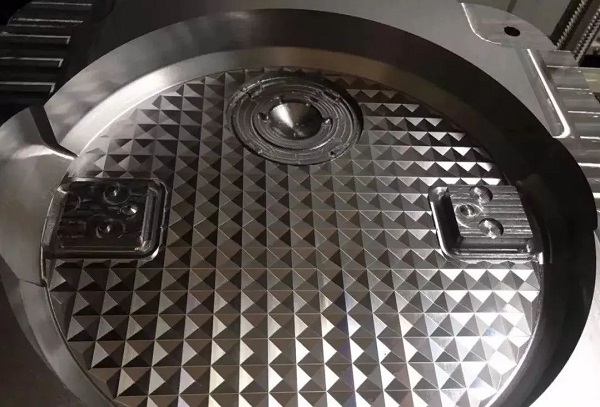
For the parts of mold cores and inserts that need to be roughened by CNC, a single-side allowance of 0.2mm is reserved. For the workpieces that need to be fine-machined by CNC after heat treatment, if the product appearance allows, the mold cavity and core that can be fine-machined by CNC shall be processed by CNC first. If they cannot be processed in place, electrodes shall be made and processed by electric pulse.
6.Dynamic and static mold processing technology
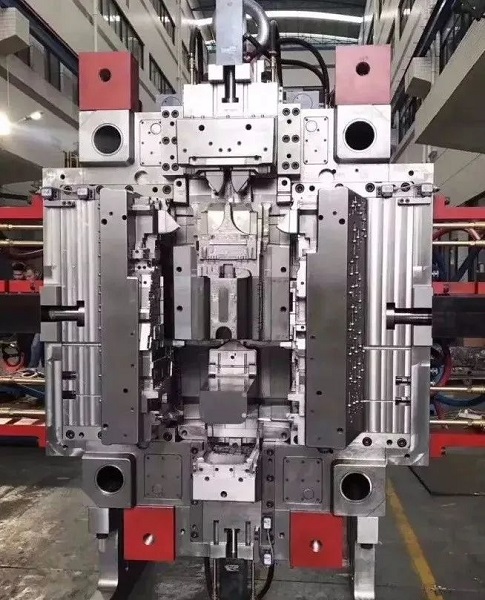
1) Prepare materials;
2) Milling machine processing: drilling water holes (the deepest part of the water hole plug is 3-4mm away from the horizontal water hole), threading holes, drilling and tapping screw holes, drilling and reaming ejector holes, mold number, reference angle, and hanging table clearance;
3) CNC processing: rough processing;
4) Heat treatment processing: indicate the hardness requirements;
5) Grinding machine processing: grind the hexagonal square, and the shape is ground according to the frame size (if the mold core is one piece, the outer dimensions are 0.03mm-0.05mm negative than the drawing size, if the mold core is two pieces, the sum of the outer dimensions of the two mold cores in the direction of assembly is 0.03mm-0.05mm negative than the drawing size) ⊥0.01, ∥0.01, the part that can be formed by the grinder must be ground;
6) If the mold core needs CNC finishing, arrange CNC finishing, if the cavity has fonts and mold numbers, it needs to be engraved;
7) Wire cutting: machining insert holes, inclined top holes, ejector holes, nozzle holes, etc. with medium wire;
8) EDM: machining according to drawings and pulse instructions;
9) Polishing: write down the roughness and requirements of polishing on the process flow card, and mark the polishing area on the workpiece with a marker. If there is a mirror requirement, rough polishing can be done first and then fine polishing after the trial mold if the cycle is not enough;
10) Assemble the trial mold.
7.Main body insert processing technology
1) Material preparation: The technician defines whether it is a single piece or multiple pieces to be processed together according to the size and shape of the workpiece. If multiple pieces are processed together, the technician needs to draw a plan for the processing arrangement of the workpiece;
2) Milling machine processing: The fitter performs processing according to the workpiece drawing or the arrangement drawing provided by the technician, drilling water holes (the deepest part of the water hole plug is 3-4mm away from the horizontal water hole), threading holes, drilling and tapping screw holes, drilling and reaming ejector holes, roughing the forming part, numbering the mold, and making way for the hanging table;
3) CNC processing: If the workpiece needs CNC rough processing, arrange CNC rough processing;
4) Heat treatment processing: indicate the hardness requirements;
5) Grinding machine processing: Grind the hexagonal angle ruler, and the part that can be formed by the grinder must be ground and formed;
6) If the workpiece needs CNC fine processing, arrange CNC fine processing, such as the insert with fonts and mold numbers, which need to be engraved;
7) Wire cutting processing: middle wire processing insert holes, inclined ejector holes, ejector holes, etc.;
8) EDM: Process according to the drawing and pulse instruction sheet;
9) Polishing: Write down the roughness and requirements of polishing on the process flow card, and mark the polishing area on the workpiece with a marker. If there is a mirror requirement, rough polishing can be done first and then fine polishing after the trial mold if the cycle is not enough;
11) Assemble the trial mold.
8.Processing technology of special-shaped inserts
Process 1:
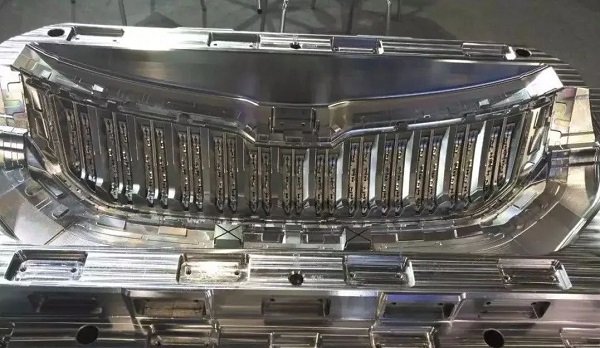
1) Wire cutting: Cut the shape and size of the middle wire accurately (A/B view), pull the piece, grind the thickness with allowance, and roughen the forming part;
2) Grinding machine processing: Grind the thickness, slope, and form;
3) Discharge machining;
4) Polishing.
Process 2:
1) Wire cutting: Cut the shape, insert hole, and ejector hole of the middle wire, cut the size accurately (C view), and roughen the hanging platform and the forming part;
2) Grinding machine processing: Grind the height, hanging platform, slope, and form;
3) Discharge machining;
4)Polishing.
9.Inclined top processing technology
1) Wire cutting: Cut the shape with wire, grind the head with allowance for the plug surface, grind the other dimensions accurately, leave allowance for the thickness of the pull piece, and leave allowance for the rough opening of the I-shaped slot;
2) Grinding machine processing: grinding thickness and I-shaped slot;
3) Assembly;
4) Pulse;
5) Polishing;
5)Milling machine to open the oil groove.
10.Sloped top seat processing technology
1) Fitters prepare strips: 1.5mm is reserved on both sides for height, 0.5mm is reserved on both sides for width, and 5mm is reserved on both sides for length to facilitate wire cutting and clamping;
2) Milling machine processing: drilling and tapping screw holes;
3) Heat treatment processing;
4) Grinder processing: grinding hexagonal angle ruler, grinding width dimension accurately;
5) Wire cutting fast wire processing I-slot accurate, pull tab, thickness margin grinder, height dimension is 1.2 mm;
6)Grinder processing: grinder outer dimensions, equipped with ejector plate, height dimension is 1 mm.
11. Block processing technology
1) Prepare materials;
2) Milling machine processing: drill screw holes, rough the forming part (reserve 0.3-0.5 on one side, grinder);
3) Grinding machine processing: grind hexagonal angle ruler, grind the outer dimensions accurately, and form.
12. Locking block processing technology
1) Prepare materials;
2) Grinding machine processing: grind hexagonal angle ruler, grind the outer dimensions accurately;
3) Wire cutting processing; fast wire forming;
4)Milling machine processing: drill and tap screw holes.
13. Principles of processing ejector holes
Ejector holes of Φ3 or above (including Φ3, Φ4, Φ5, Φ6) are processed by milling machine drilling and reaming; ejector holes below Φ3 or non-standard ejector holes are processed by wire cutting, and the bottom is avoided.
14. Principles of processing threading holes
When various holes need to be processed by wire cutting, when the circumference of the inner wall is greater than Φ3 or above (including Φ3), threading holes must be drilled.
15. Ejector processing technology
Ejector cutting machines of Φ2 and above are cut with a length margin grinder, and the length size is accurately ground by the grinder (processed by the fitter himself); ejector wire cutting below Φ2 is accurately cut. Flat ejectors and sleeves are cut with a length margin grinder; processed by a grinder, the length size is accurately ground.
Post time: Jul-29-2025


